How To Install a Granite Mailbox Post

Your mailbox is not only a gateway to communication with the outside world; it’s also part of the overall curb appeal of your home. If you currently have an existing mailbox on a wooden, plastic, metal or concrete post, chances are, at some point, you will need to replace it due to environmental erosion to the foundation or post causing it to lean, or rotting wood weakening the structure.
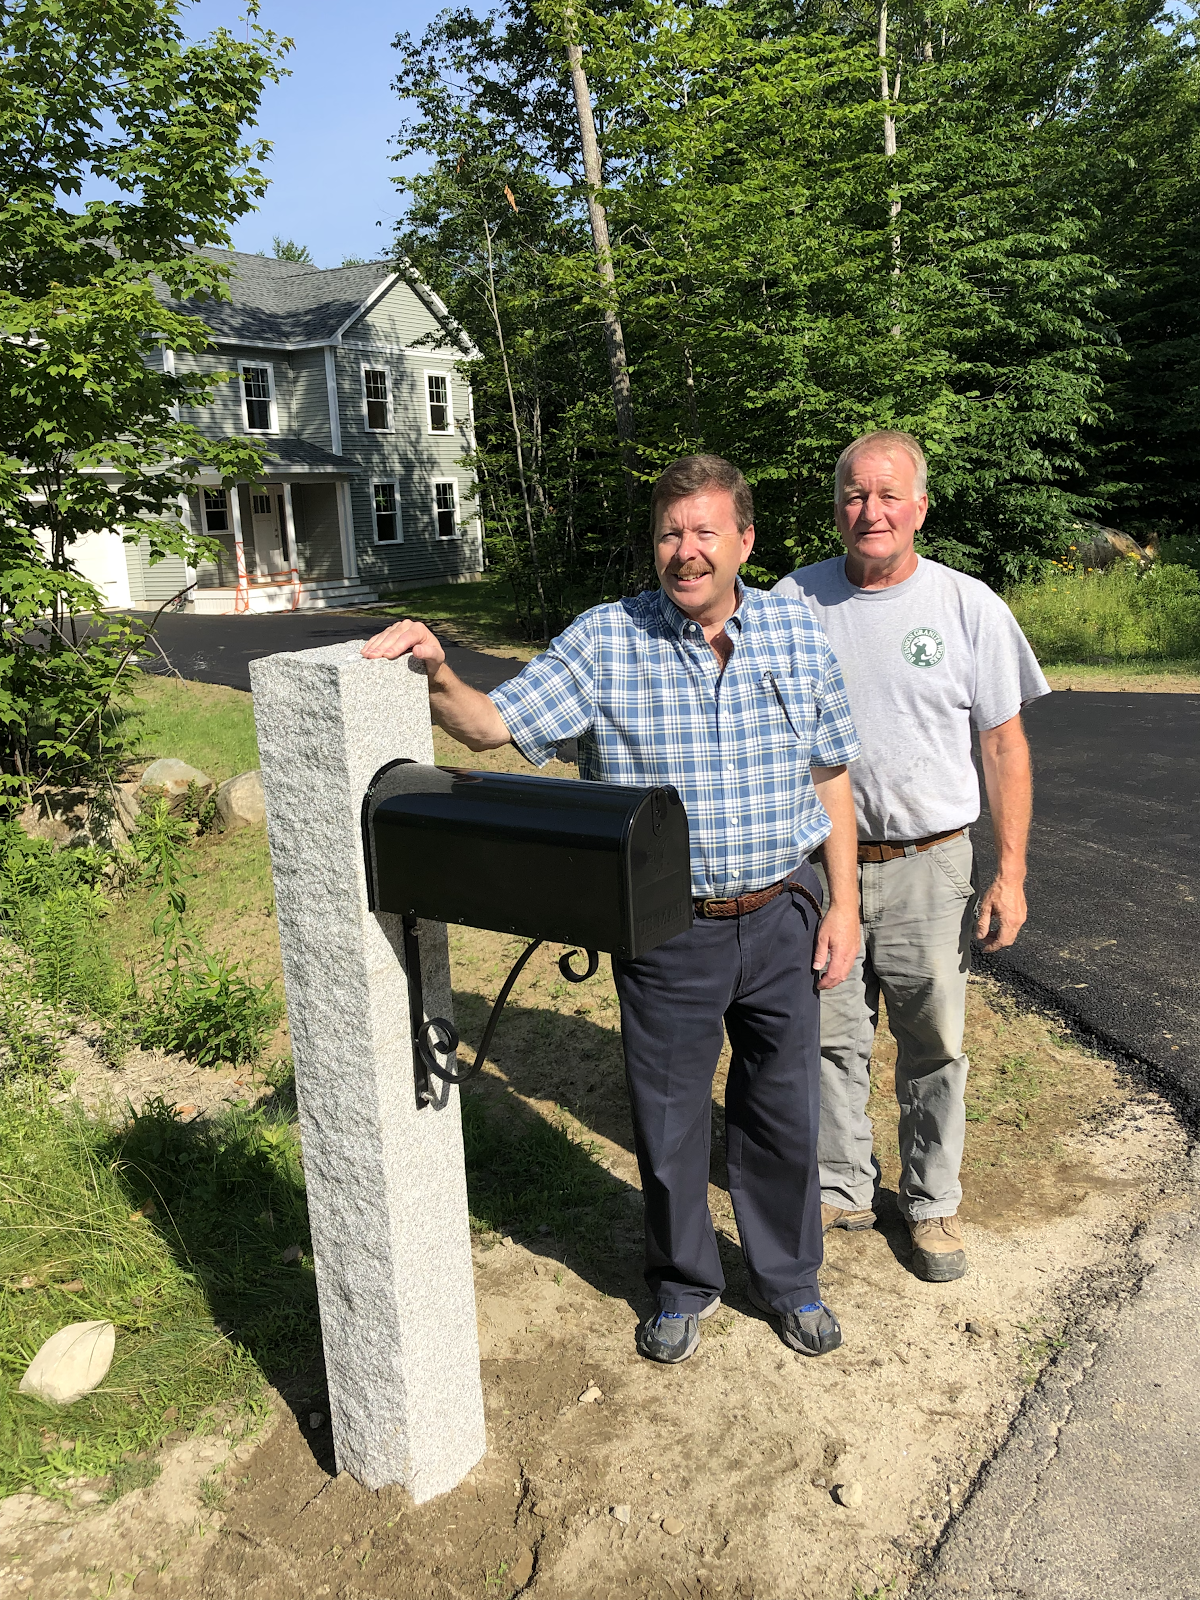
A granite mailbox post provides the everlasting durability of stone pulled and cut from solid rock. It’s just a matter of setting it in place correctly.
DOWNLOAD THE GRANITE POST SPEC SHEET FOR PRODUCT DETAILS
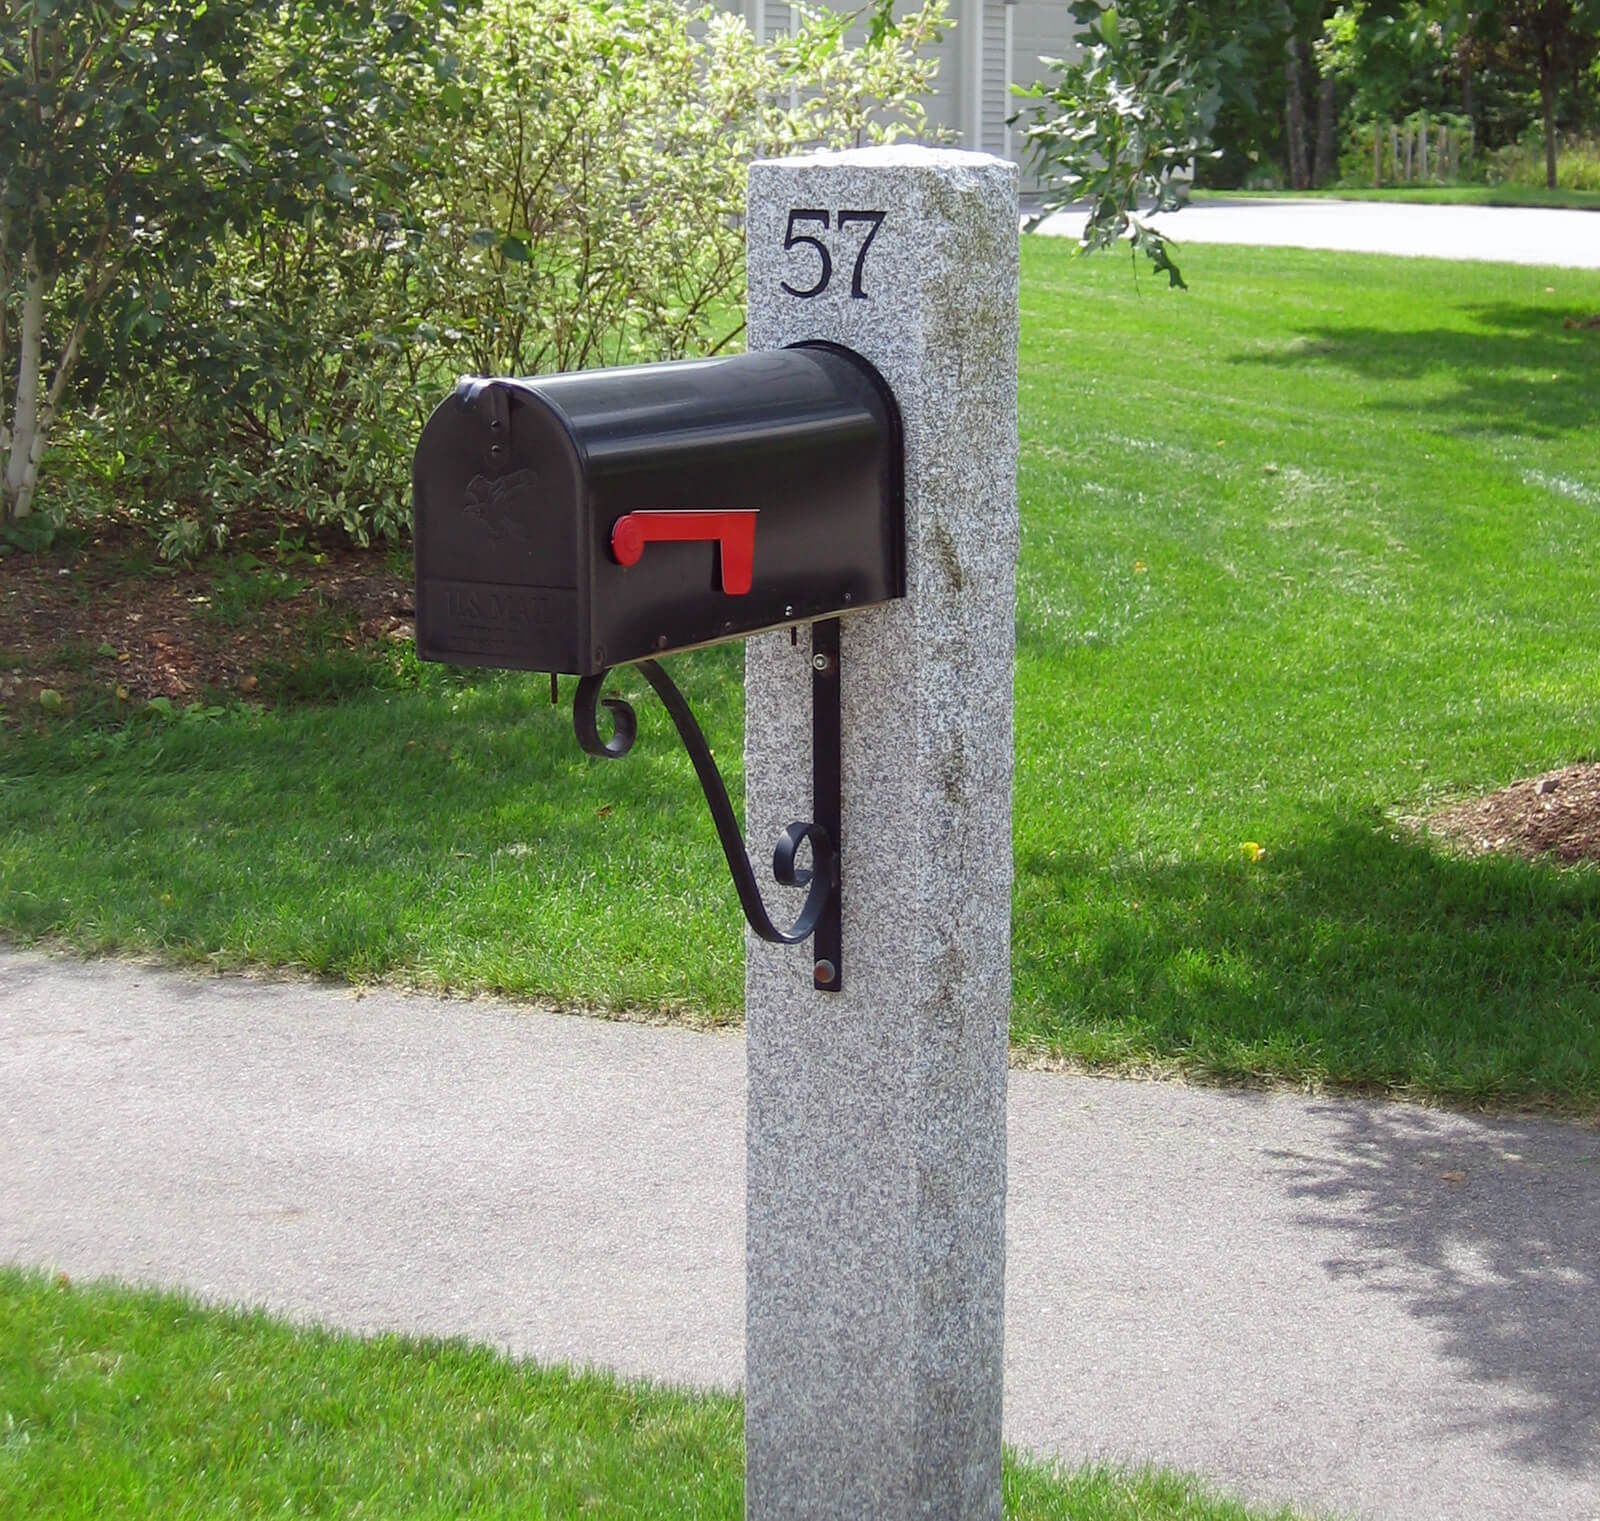
WOODBURY GRAY™ granite is one of several granite types offered at Swenson Granite Works and is the most popular choice for posts.
Let’s review how to install a granite mailbox post so you can make an informed decision on whether to do it yourself or bring in a contractor to help.
Preparing for Mailbox Post Installation
If you’re replacing an existing mailbox post and plan to use the same location, you will still need to do proper prep work for your granite mailbox post. It’s not as simple as pulling out the old post, as your new granite mailbox post will likely be longer and wider than your current post.
When installing a granite mailbox post in a new location, you will first need to dig a hole. But keep in mind, there is more to it than just grabbing a shovel. Your prep work should involve research to know the post’s size and check for utility lines beneath the surface that you could damage by digging.
Calling 811 or logging onto https://call811.com/ is required by state law before you dig, even for small projects. Doing this notifies participating utility companies of your plans to dig. Your local utility company will mark out the location of their underground facilities.
The depth of utility lines varies, and there may be multiple utility lines in a common area. In Massachusetts, Maine, New Hampshire and Rhode Island, state law requires a minimum notification of 72 hours and 48 hours in Vermont and Connecticut before the start of the project (weekends and legal holidays not included). Check and note the notification time for your area.
Once the lines are marked, you can dig the hole where it is clear to do so.
You then need an idea of size. Contact your local Swenson Granite Works store about your specific post for clarification on measurements.
DOWNLOAD THE MAILBOX INSTALLATION GUIDE HERE
U.S. Postal Regulations For Mailboxes
You also need to check with your local post office to confirm their requirements for the height of the box and the distance the post should be from the street. Individual post offices may have their own regulations.
Typical U.S. Postal regulations require the height from the street level to the bottom of the finished installed mailbox to be approximately 40” to 44”. Astock-size 7” x 7” x 7’-0” granite post would need a hole 30” deep and 18” in diameter.
Check the height of any street curbing as well. Add the curb height to the overall depth of the hole if there is existing curbing at the street. For example, if the height of the curb is 6”, the hole needs to be 36” deep as opposed to 30” to keep the mailbox at the proper height.
Varying USPS height requirements and any engraving or non-stock accessories added to the post may also require a longer, non-stock post to maintain proper mailbox height.
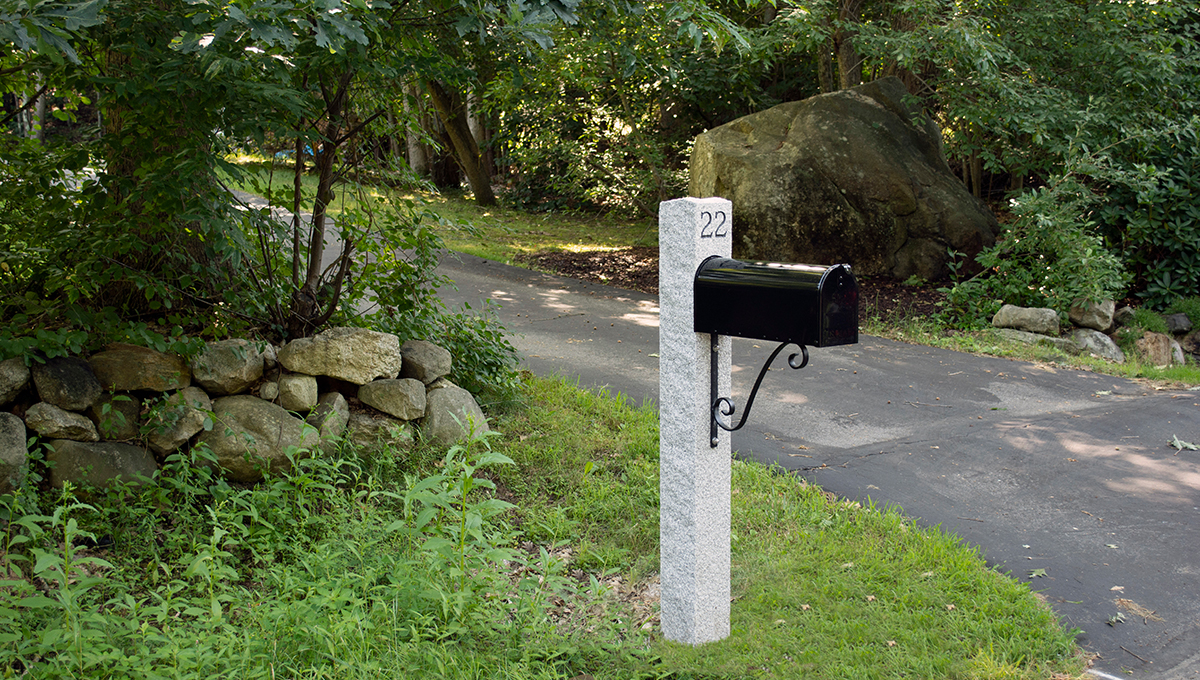
CALEDONIA™ granite mailbox post
Time Your Dig
The ideal time to dig is after the ground thaws in the spring or before it freezes in the winter, so add this to your spring/summer home improvement project list!
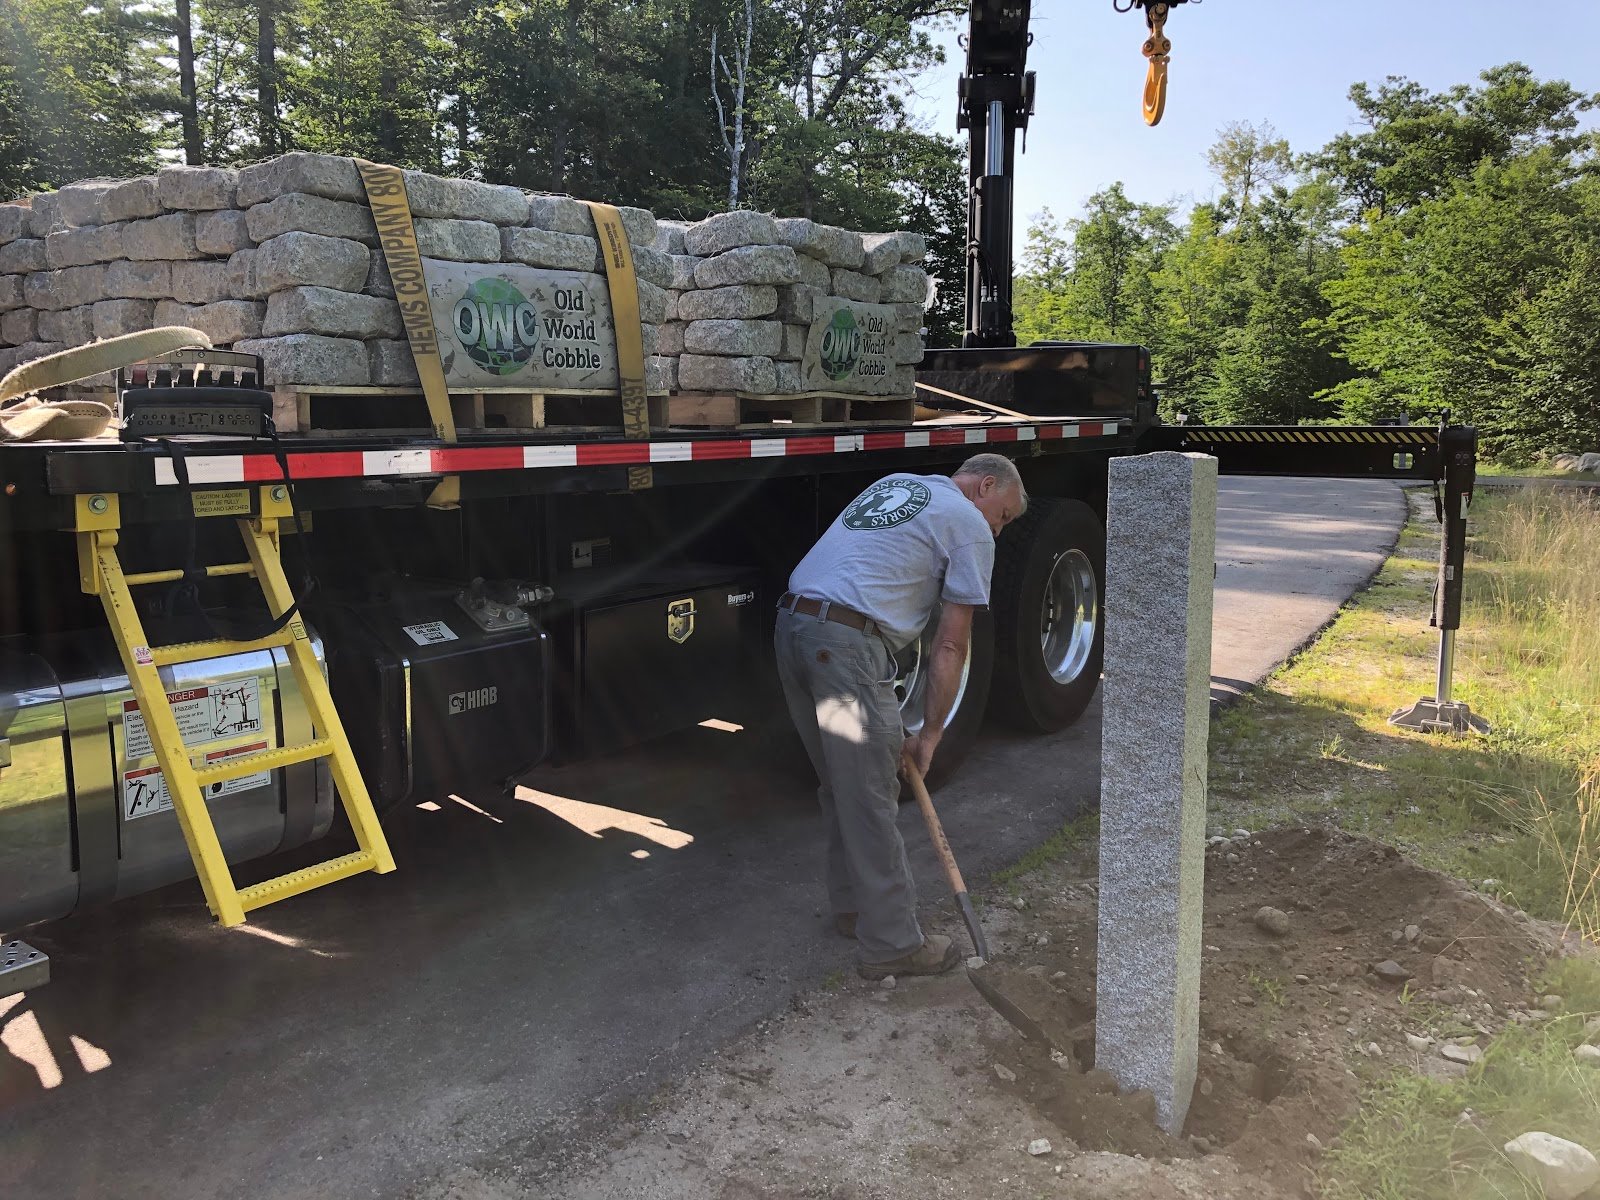
Set the Post
After completing the dig, the post can be placed and set in either gravel or concrete. Gravel is recommended, it is permeable, drains well, and allows more flexibility. However, if you have loose, sandy soil, you may want to consider setting the post in concrete. This can also help prevent shifting.
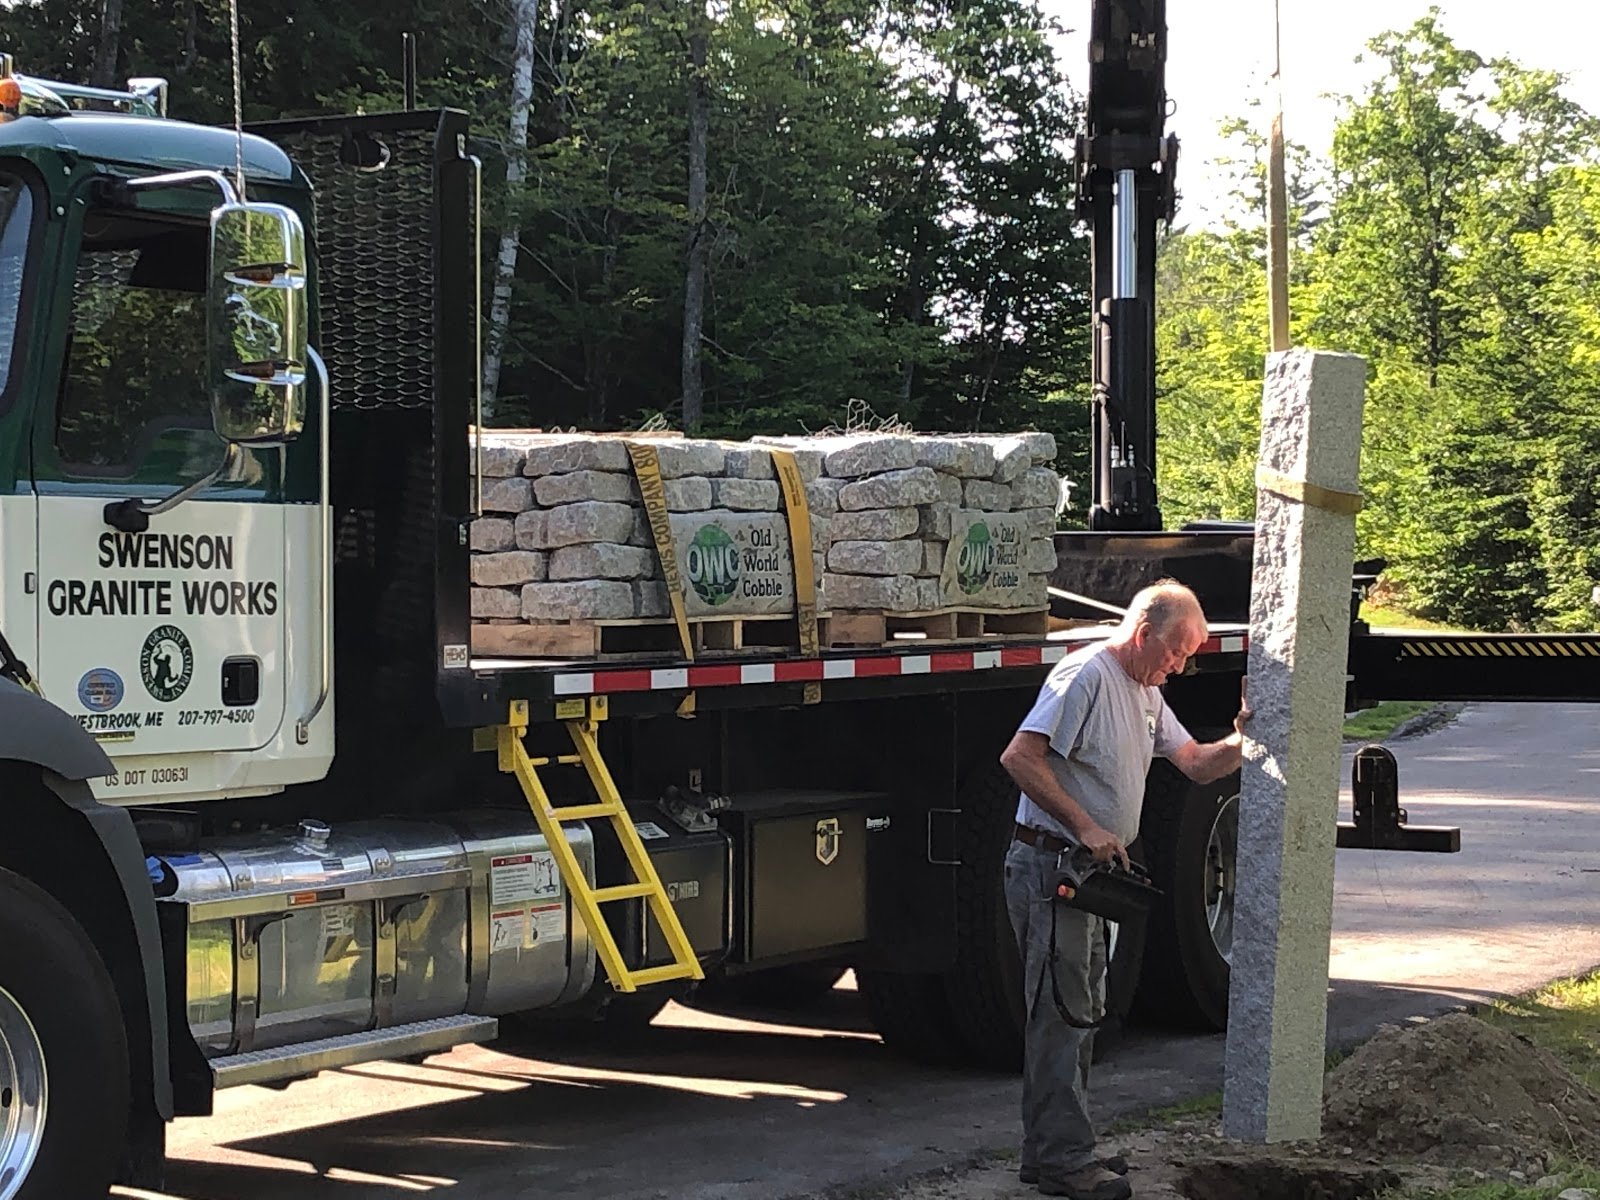
Swenson Granite Works crane truck operator installs a Woodbury Gray granite mailbox post. Swenson Granite Works personnel will install your post (for an additional fee) into a pre-dug hole of proper dimension.
When filling the hole around the post, compact in layers after every four inches of gravel. Trying to compact too deep of a layer at one time will not allow for proper compaction, and you could have voids along the way, causing settling and leaning over time.
Use the narrow handle end of the shovel to compact the gravel in the space around the post at the bottom of the hole. A long-handled sledgehammer can also help to compact as you move along, since the hammerhead is small and heavy. Above all, use a 48” long level to ensure your post remains straight throughout the compaction process. It is nearly impossible to adjust for level once proper compaction is complete.
Put a four-inch layer of loam (a composition of sand, silt, and a small amount of clay) at the top of the compaction. You can then seed, replace sod, or plant flowers around your new mailbox post. You can find loam at your local home improvement or landscape supply center.
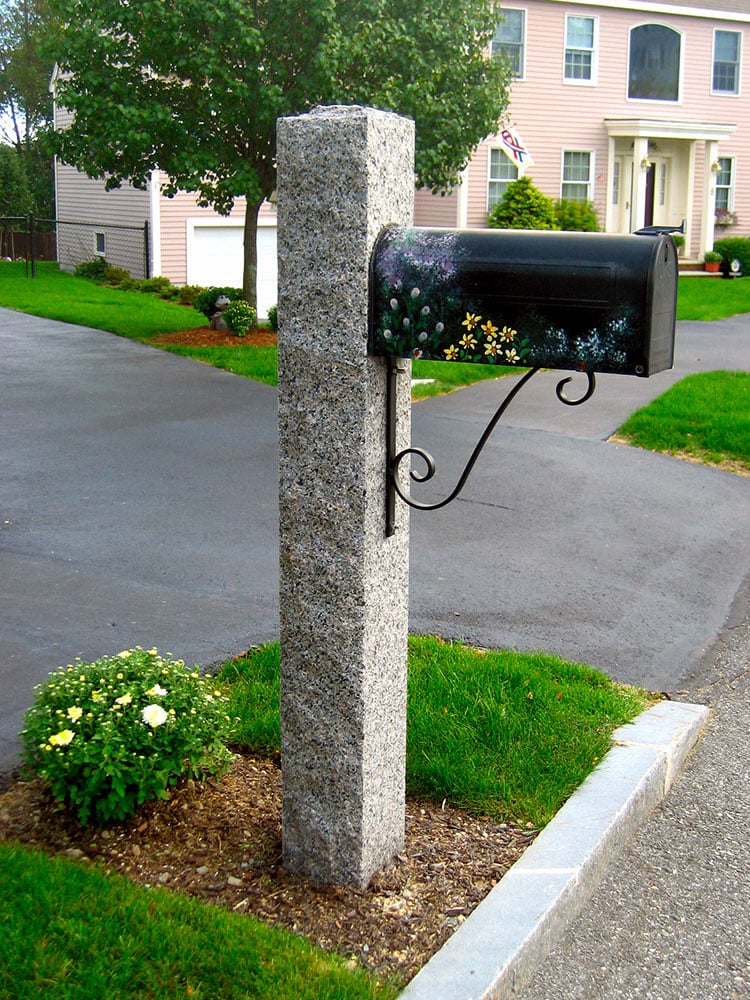
Woodbury Gray granite mailbox post
Replacing a Mailbox Post
If you are replacing an existing mailbox post, you will first need to dig out the old post before the new granite mailbox post can be set.
Use a shovel to dig around the post and loosen the soil. Wiggle the post until you can pull it out. If it’s not coming out, try pouring water around the post to soften the soil.
If the post is mounted in soil or gravel, it should come out fairly easily. If it’s mounted in concrete, you will need to dig around it and pull out both the post and surrounding concrete setting. You will then need to prepare a proper hole for your new post, as described above.
Now that you’ve got the dirt on digging post holes, you can get started with a better understanding of the process. If you do opt for help, contact a Swenson Granite Works location near you and we can connect you with a contractor in your area.
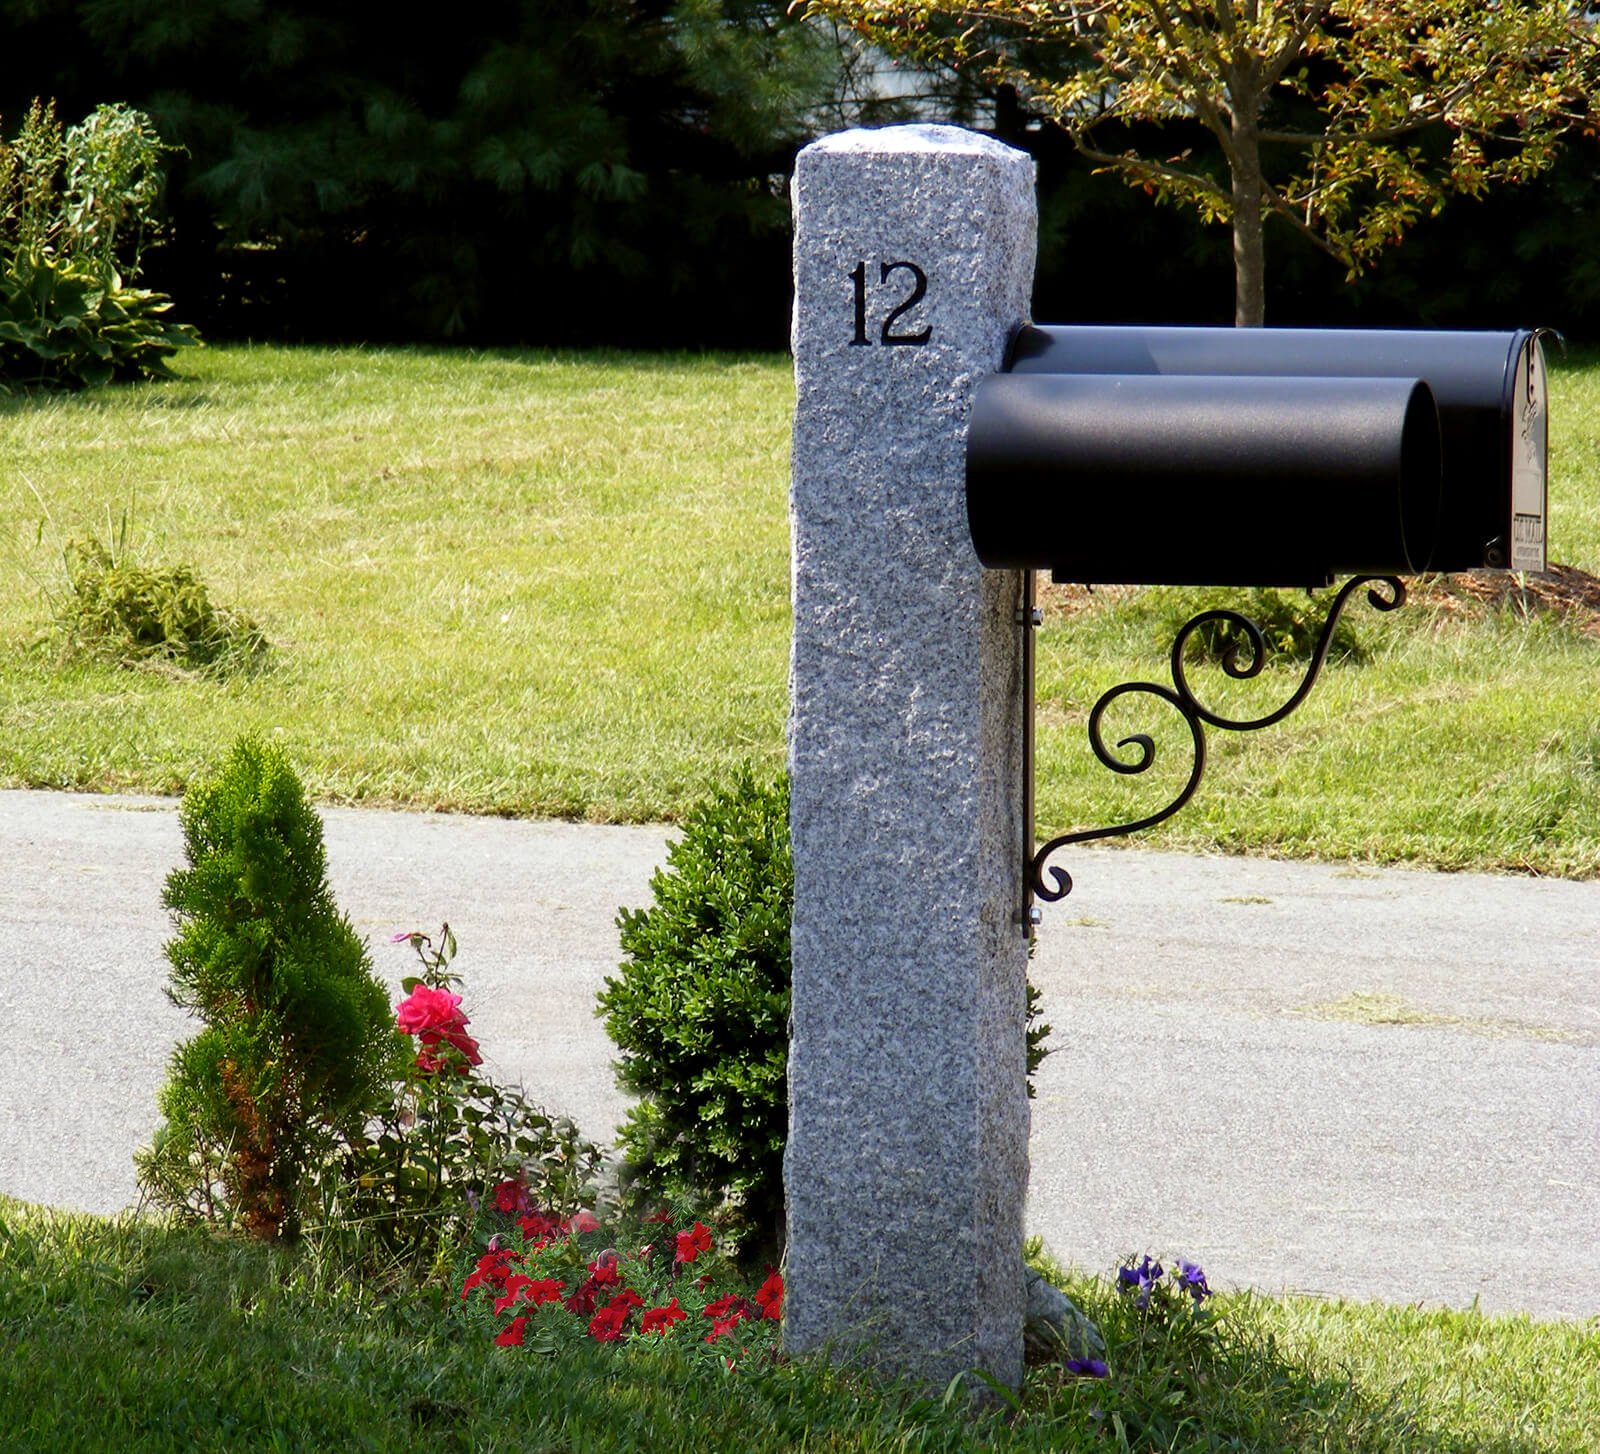
Your new granite mailbox post will provide a sturdy and aesthetically pleasing structure for your mailbox with no maintenance required after installation.